Birds in This Story
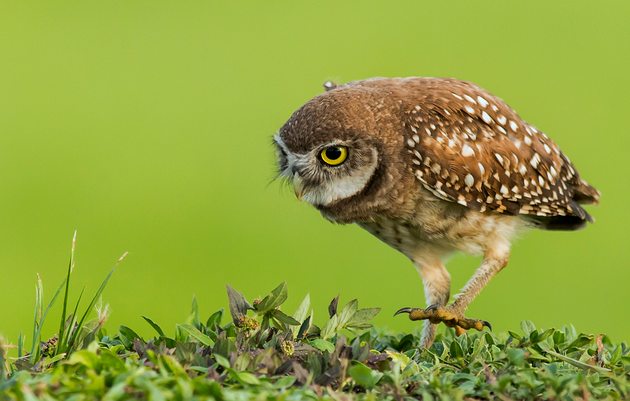
Burrowing Owl
Latin: Athene cunicularia

Greater Sage-Grouse
Latin: Centrocercus urophasianus

Even before the pandemic, our family was a baking family. One of our favorite things to bake is sugar cookies. We bake them for every holiday, and during the quarantine, any occasion was worthy of baked goods. This is why I was intrigued by an article I read a few years ago about a grad student named Sarah McLean who was making bird cookies from her Sibley’s bird guide. She was on a mission to bake every species in the guide using aluminum from a foil pan to construct the specialized bird cutters. I thought that sounded like a fun project and one I would love to attempt…someday.
As luck would have it, we recently had a long weekend coming up where we would be spending as little time as possible outside due to the extremely cold temperatures. Not only was it Presidents Day weekend, but also The Great Backyard Bird Count and Valentine’s Day. Which, of course meant we would make Valentine’s Day-themed sugar cookies, but I also thought we should finally attempt some bird cookies as well.
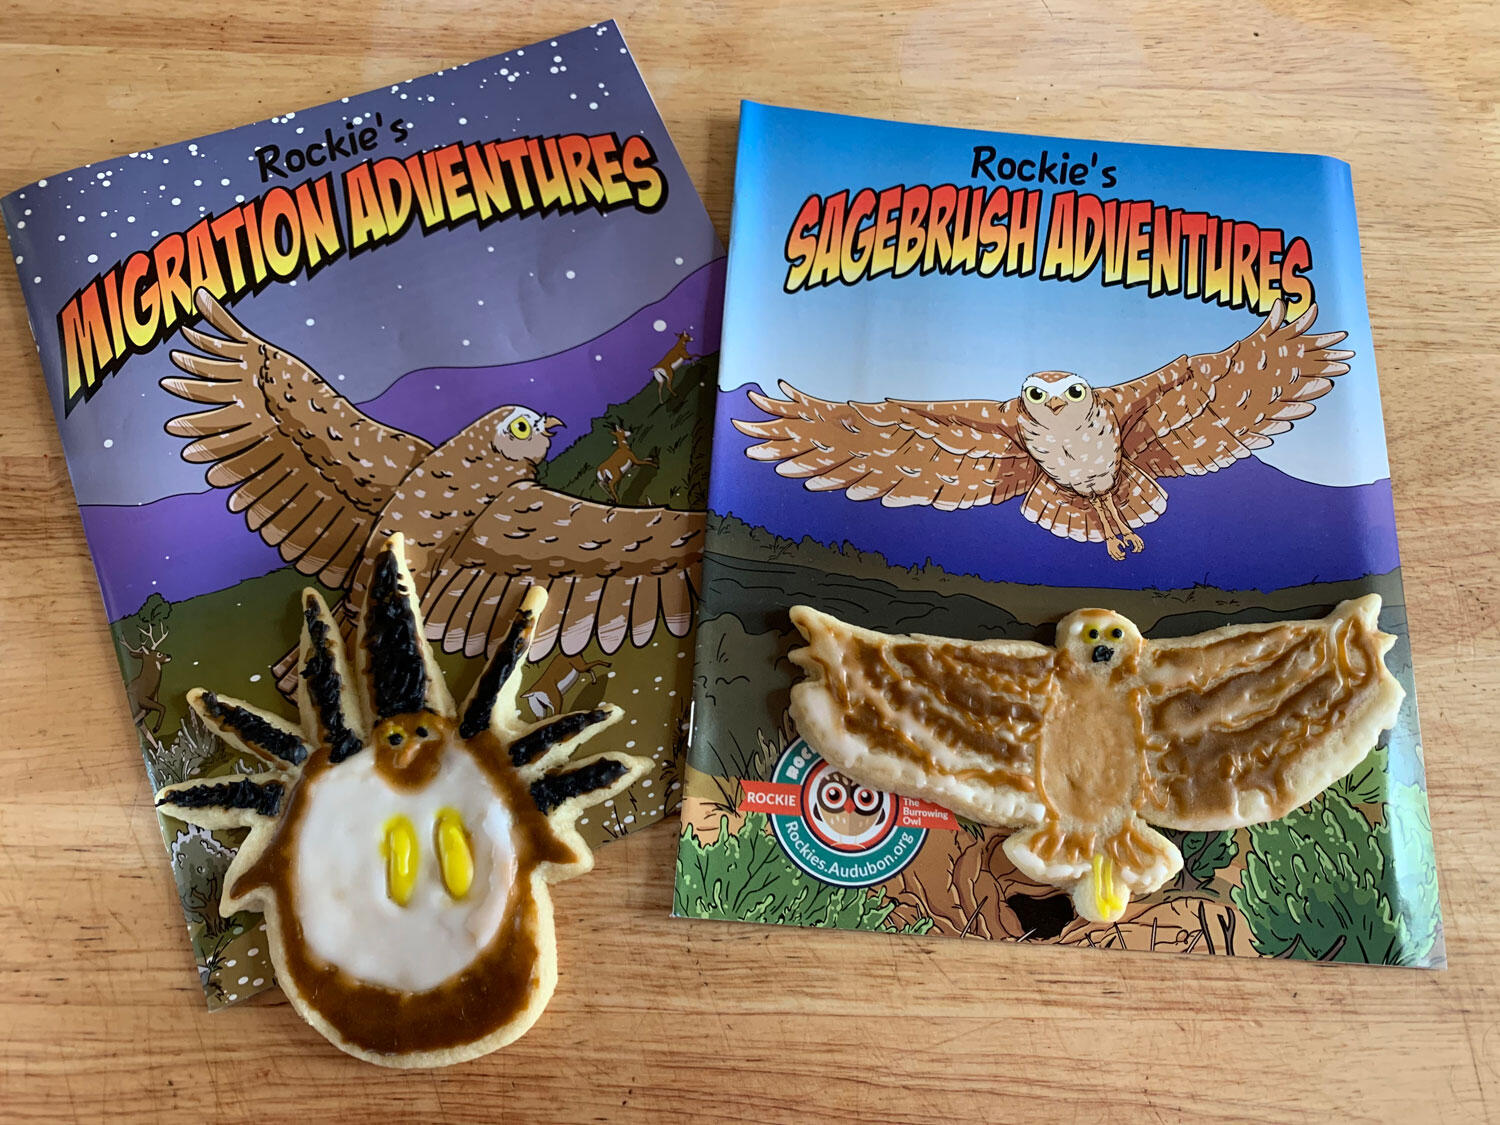
The Community Naturalist team of educators had just wrapped up our latest book chronicling the Adventures of Rockie the Burrowing Owl. In the new edition, Rockies Migration Adventures, we follow Rockie as she embarks on her first migration. The illustrations are really fun and engaging, so I thought it would be a great opportunity to attempt some bird cookies. I imagined that Rockie and Sammy Sage-grouse would make excellent cookies, so that’s what I decided to do.
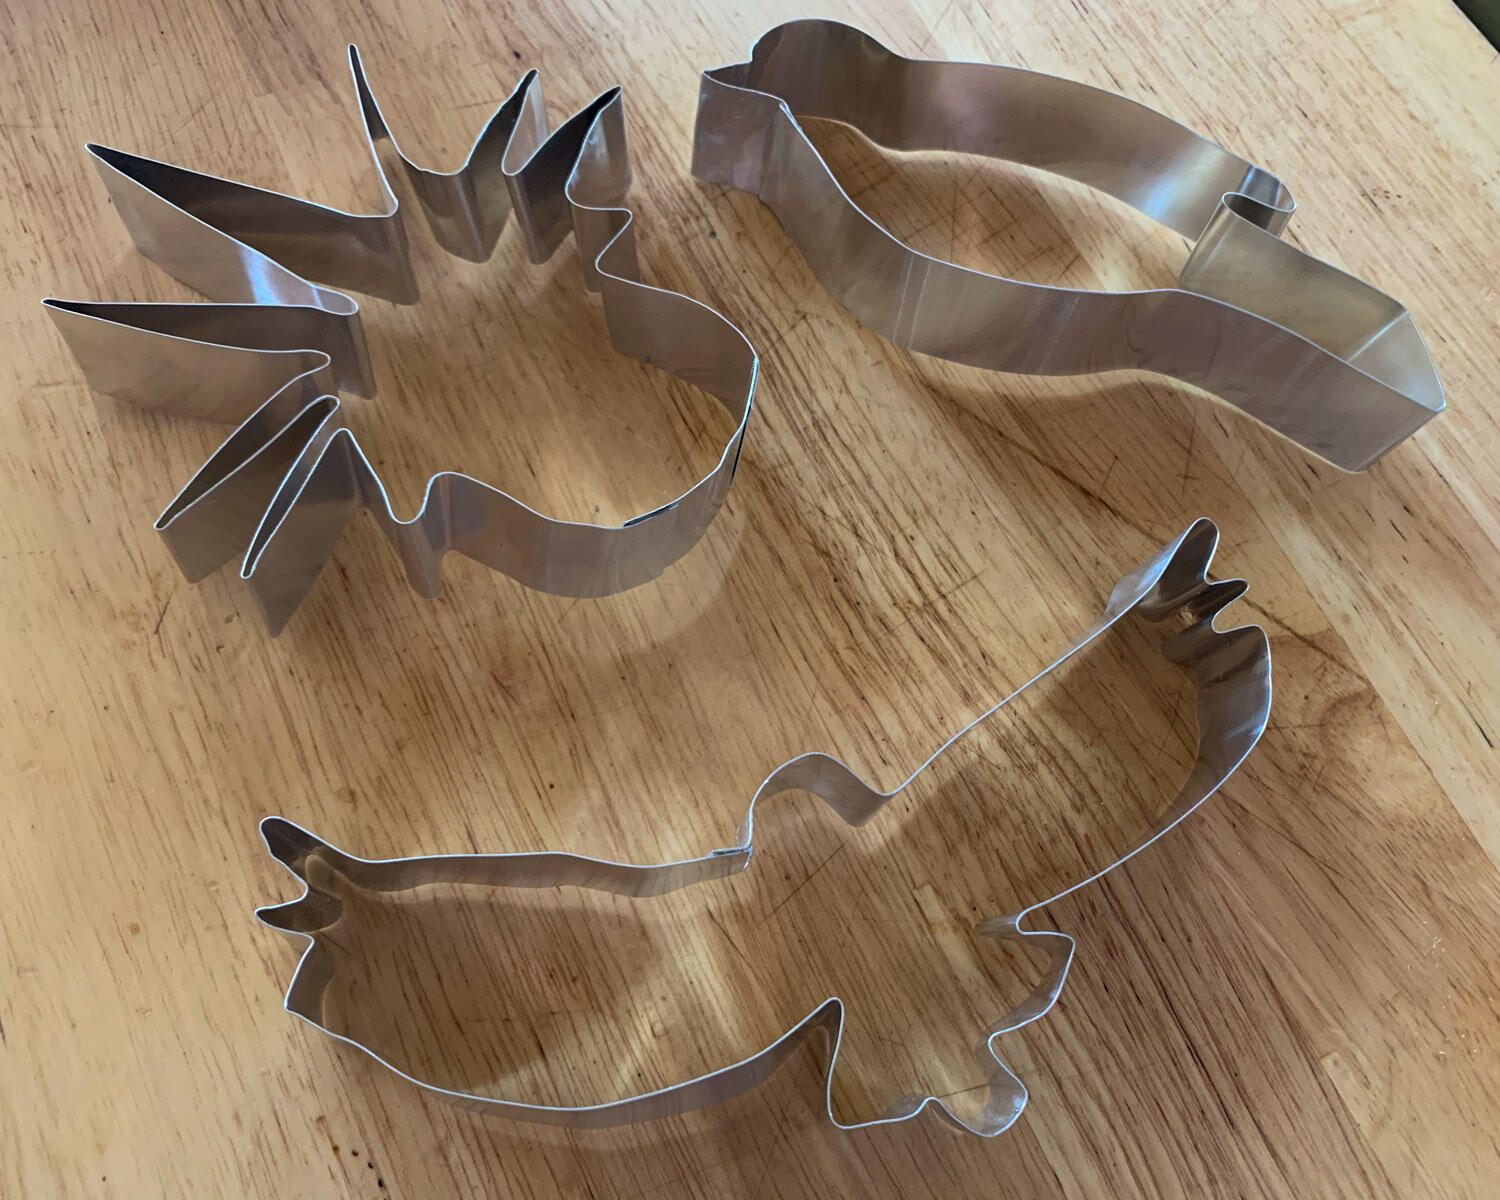
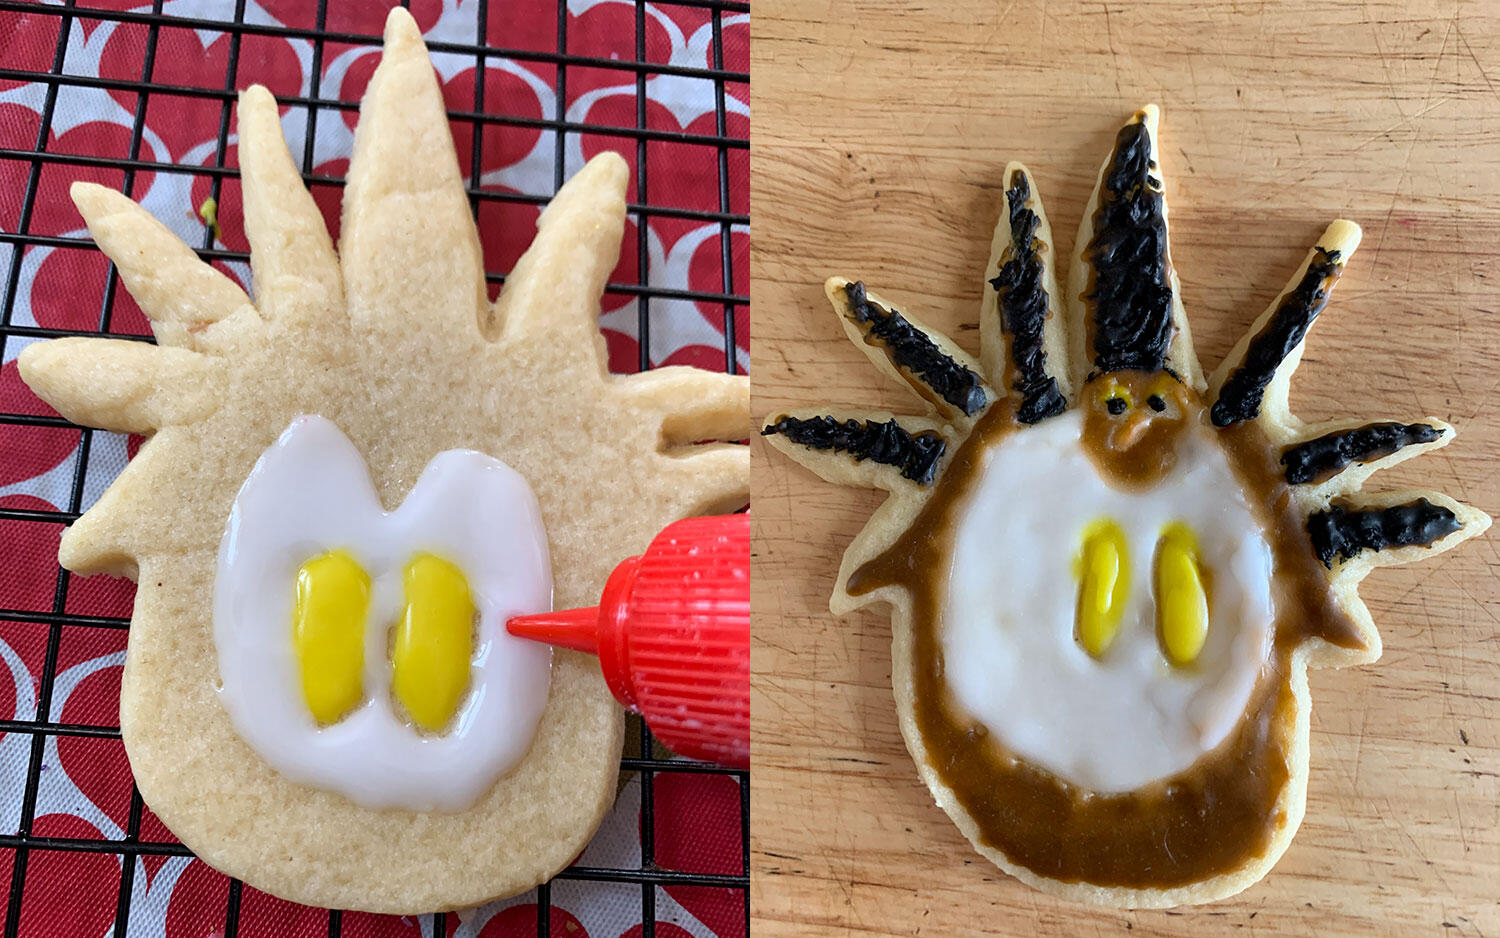
So how to get started? I figured I would start with the cookie-cutter since that was the part I had the least experience with. I noticed that in the time since Sarah had first started making her cutters, aluminum strips had become available on Amazon for just this sort of DIY project, so that’s what I went with. You can also use her method of using a sheet pan. Either way, you’ll end up with a strip of aluminum that can be shaped into the bird you want to make. In addition to the aluminum strip, I also used a set of needle nose pliers, a pencil, and scissors.
I began by finding the image I wanted to copy and then just began to bend the aluminum into that shape, using the pencil for rounding and the pliers and scissors to make the edges and pointy parts. I followed Sarah’s recommendation not to try to do legs since they are very fragile, so I focused on just body shape. Once you’ve got the desired shape, secure the ends using another piece of aluminum wrapped around the edges and crimped closed with the pliers. If the thought of constructing a bird cutter from scratch is beyond what your weekend plans will allow, there are many bird cookie cutters on Etsy.com.

Next, you need to make the cookie dough. Our favorite go-to recipe is from Sally’s Baking Addiction. The cookies are flavorful, soft, and easy to make. I also like her royal icing recipe because it sets hard so that the cookies can be stacked for shipping and sharing with others. If that is not a concern, you can use buttercream.

Ingredients: Cookie Dough
- 2 and 1/4 cups (281g) all-purpose flour
- 1/2 teaspoon baking powder
- 1/4 teaspoon salt
- 3/4 cup (170g) unsalted butter, softened to room temperature
- 3/4 cup (150g) granulated sugar
- 1 large egg, at room temperature
- 2 teaspoons pure vanilla extract
- 1/2 teaspoon almond extract
Ingredients: Royal Icing
- 4 cups (480g) confectioners’ sugar, sifted (I use and recommend Domino brand)
- 3 tablespoons meringue powder (not plain egg white powder)
- 9–10 tablespoons room temperature water
Instructions
- Whisk the flour, baking powder, and salt together in a medium bowl. Set aside.
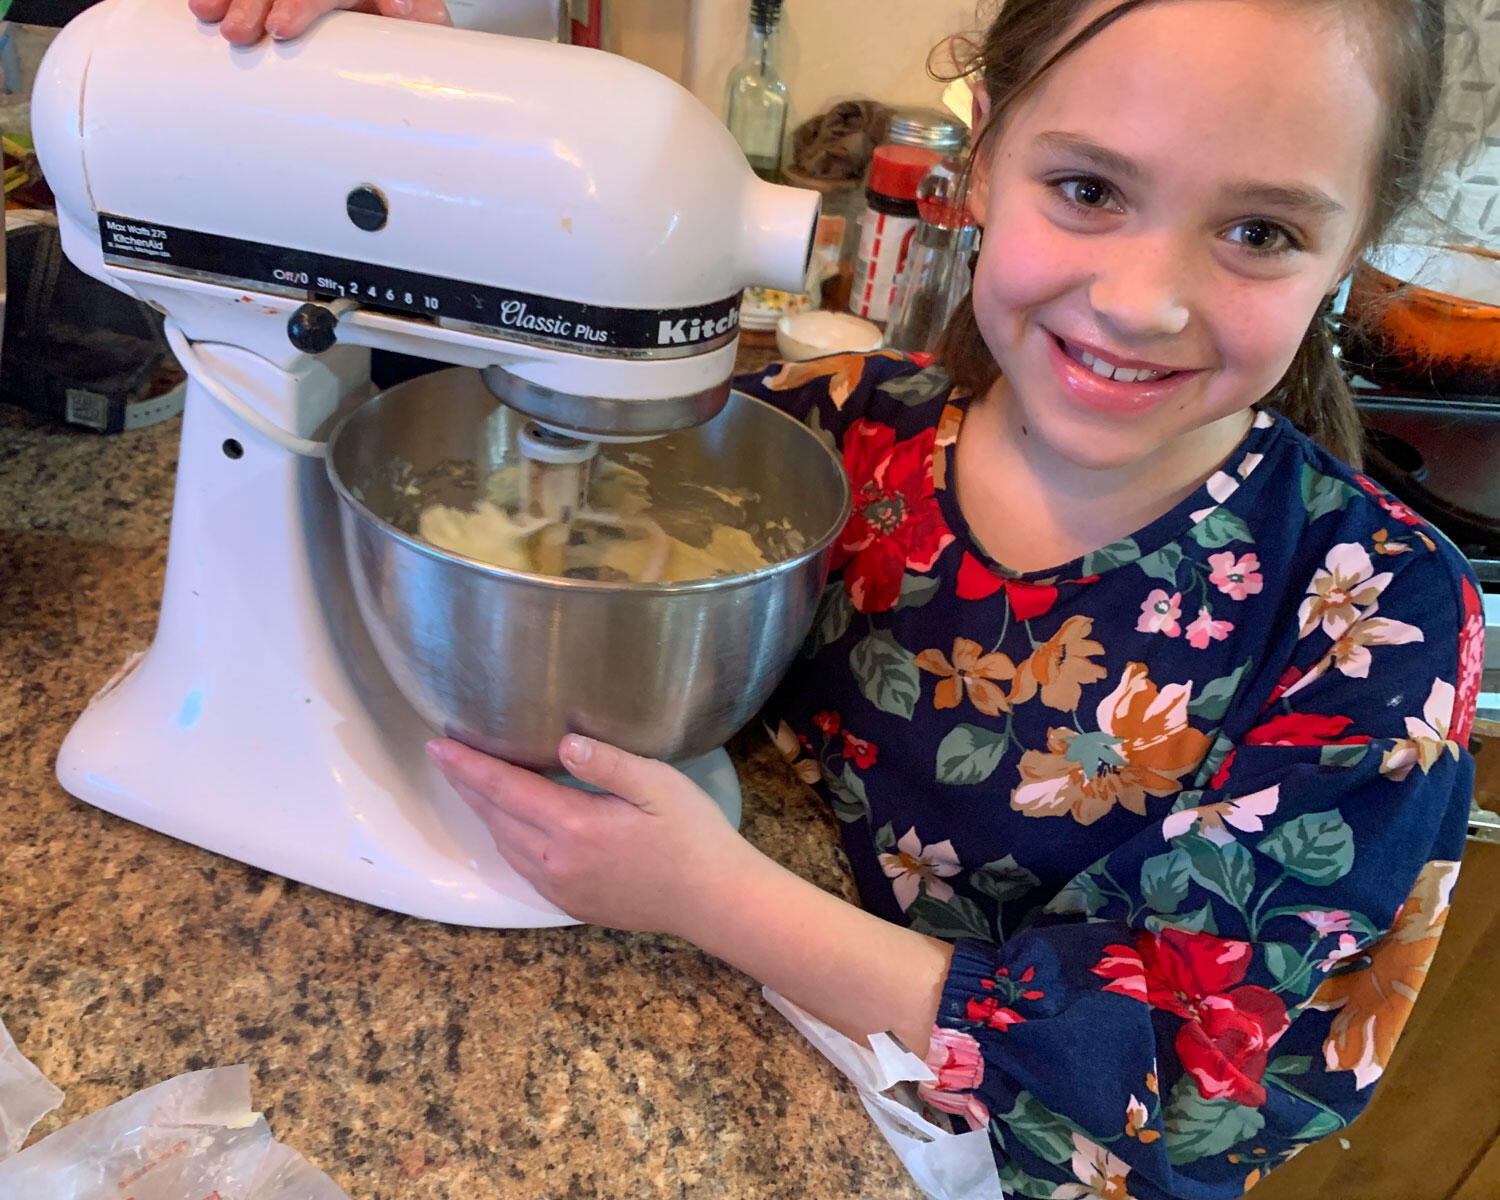
- In a large bowl, using a hand mixer or a stand mixer fitted with a paddle attachment, beat the butter and sugar together on high speed until completely smooth and creamy, about two minutes. Add the egg, vanilla, and almond extract and beat on high speed until combined, about one minute. Scrape down the sides and up the bottom of the bowl and beat again as needed to combine.
- Add the dry ingredients to the wet ingredients and mix on low until combined. The dough will be relatively soft. If the dough seems too soft and sticky for rolling, add one more tablespoon of flour.
- Divide the dough into two equal parts. Place each portion onto a piece of lightly floured parchment paper or a lightly floured silicone baking mat. With a lightly floured rolling pin, roll the dough out to about 1/4-inch thickness. Use more flour if the dough seems too sticky. The rolled-out dough can be any shape, as long as it is evenly 1/4-inch thick.
- Lightly dust one of the rolled-out doughs with flour. Place a piece of parchment on top. (This prevents sticking.) Place the second rolled-out dough on top. Cover with plastic wrap or aluminum foil, then refrigerate for at least two hours and up to two days.
- Once chilled, preheat oven to 350°F (177°C). Line 2-3 large baking sheets with parchment paper or silicone baking mats. Carefully remove the top dough piece from the refrigerator. Re-roll the remaining dough and continue cutting until all is used. Repeat with second piece of dough.
- Arrange cookies on baking sheets three inches apart. Bake for 11-12 minutes or until lightly browned around the edges. If you like them slightly under-baked, check them at nine minutes. Allow cookies to cool on the baking sheet for five minutes, then transfer to a wire rack to cool completely before decorating.
- Make icing: In a large bowl using a hand mixer or a stand mixer fitted with a whisk attachment, beat all of the icing ingredients together on high speed for 1.5 – 2 minutes. When lifting the whisk up off the icing, the icing should drizzle down and smooth out within 5-10 seconds. If it’s too thick, add a little more water. (On particularly dry days, I use up to 12-14 tablespoons water total.) If it’s too thin, add a little more sifted confectioners’ sugar.
- Decorate the cooled cookies with royal icing. Feel free to tint icing with gel food coloring.
- Enjoy the cookies right away or wait until the icing sets to serve them. Once the icing has set, these cookies are great for gifting or mailing. Plain or decorated cookies stay soft for about five days when covered tightly at room temperature. For longer storage, cover and refrigerate for up to ten days.
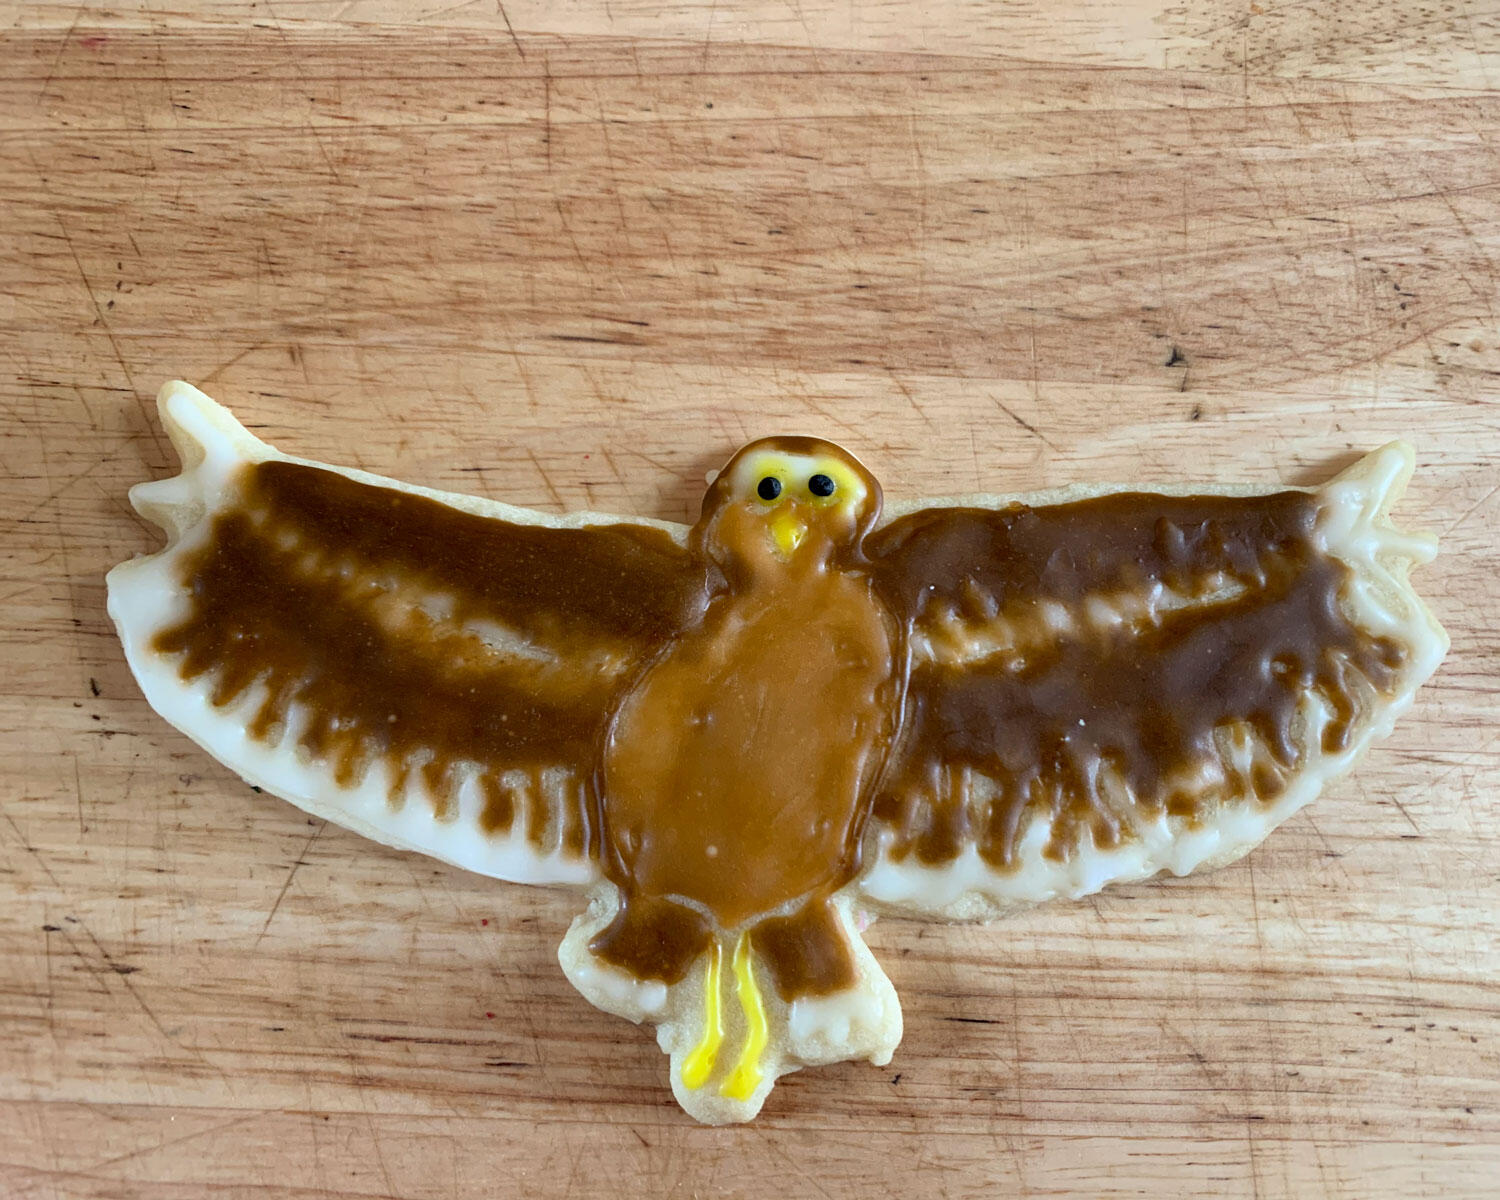
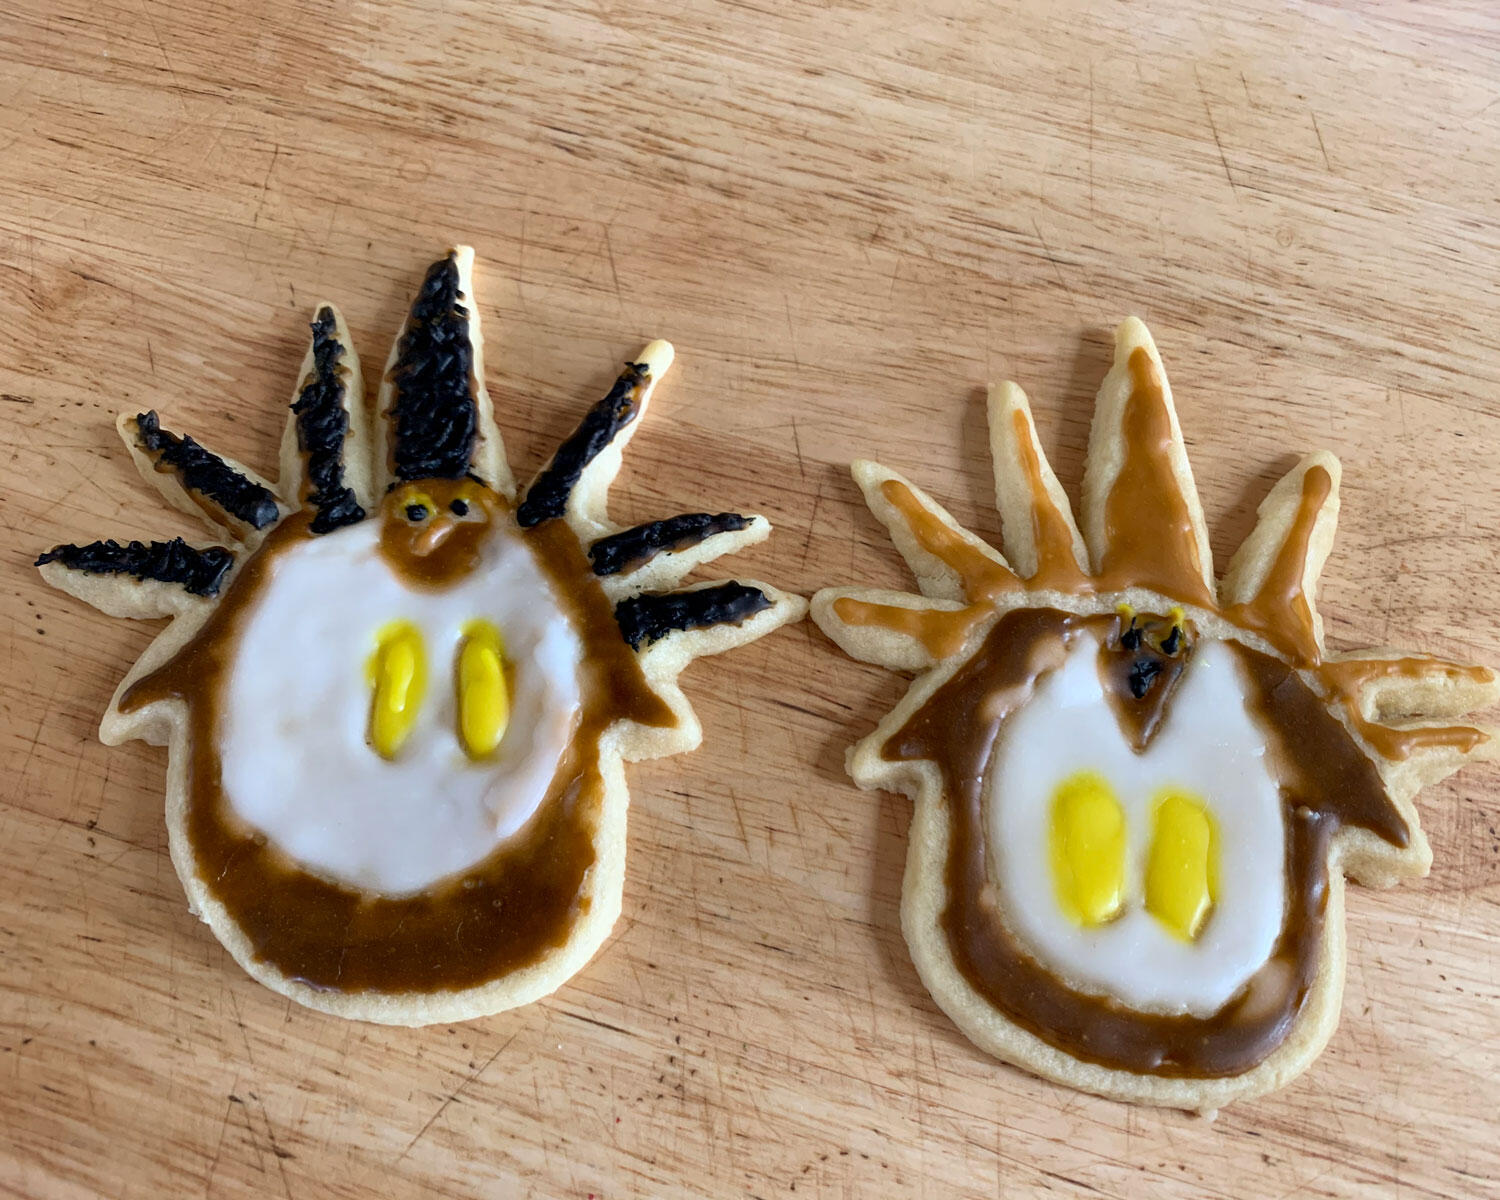
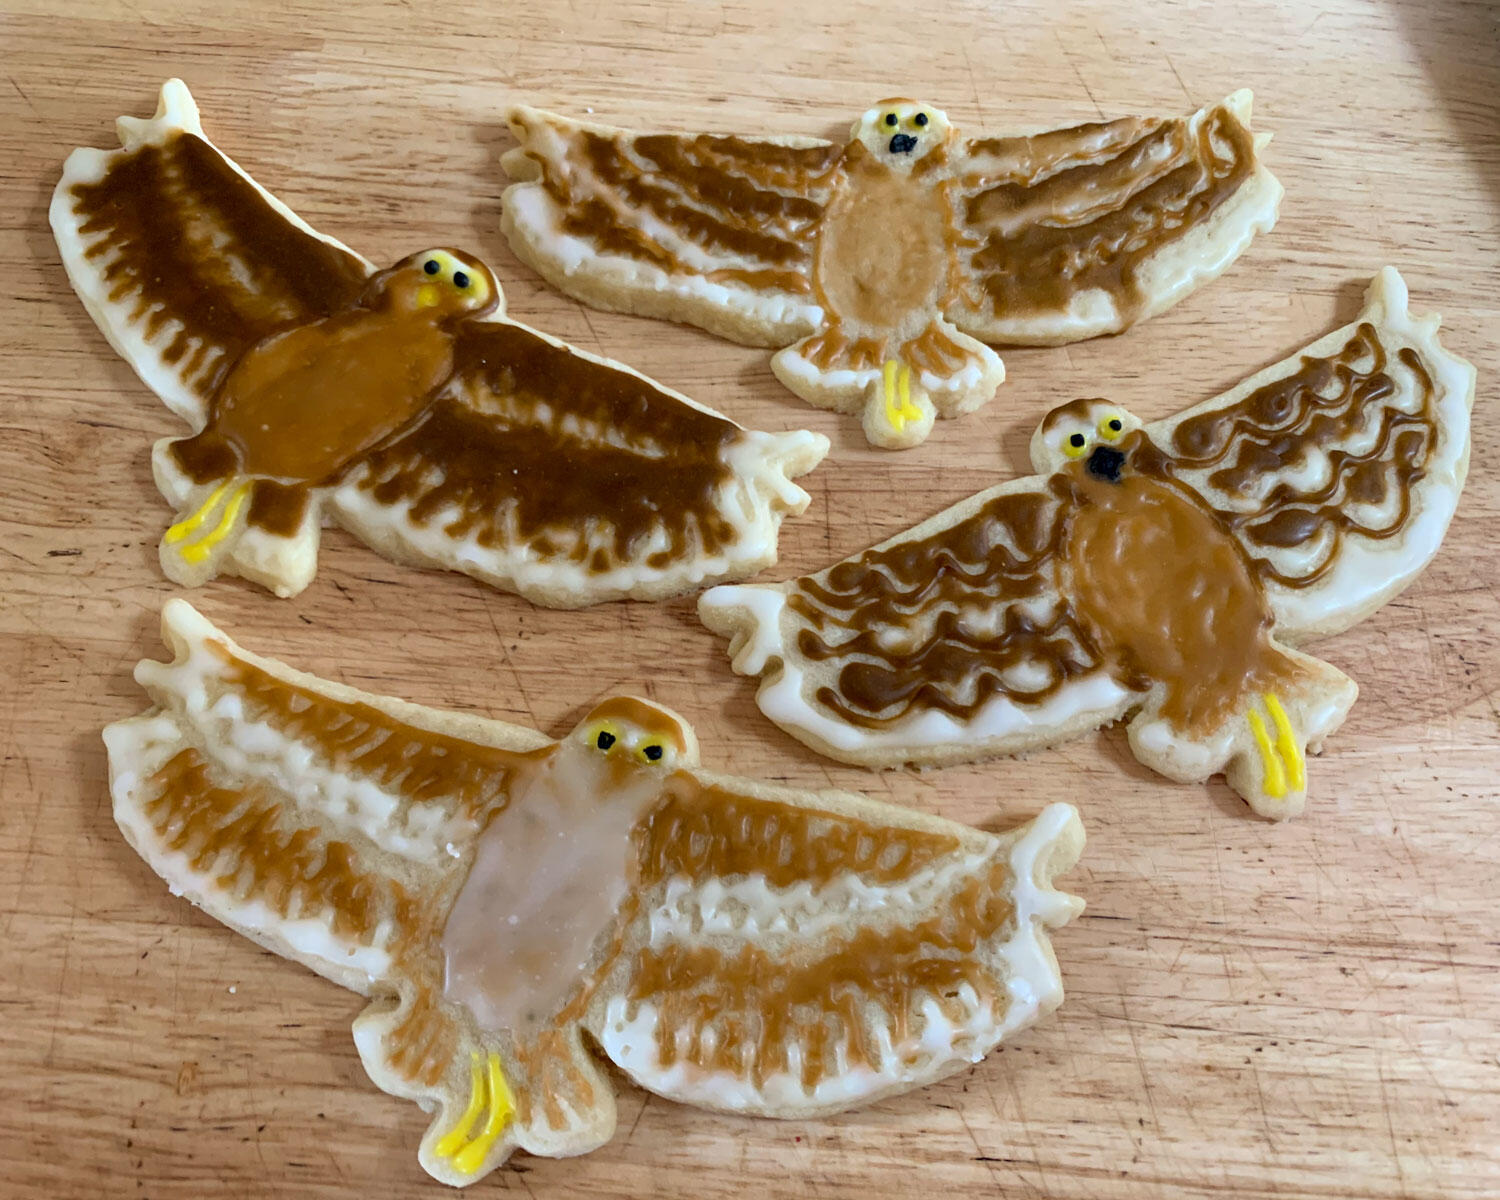
The cookies were easy enough, but the icing was a bit trickier. Christmas trees, hearts, and bunnies are very forgiving design-wise, but when you are trying to make an exact replica of a bird, the stakes are higher. Trying to replicate every shade of a bird’s plumage is unrealistic, so I suggest choosing the basic colors. For both Rockie and Sammy, I made five shades of icing from three batches of royal icing. Those were white, yellow, brown, light brown, and black. I had grand plans of also decorating a generic-shaped bird cutter that I shaped into a Lark Bunting, bluebird, and Horned Lark, but ultimately I decided to save that for another time. I used a variety of materials to decorate the cookies and if you regularly decorate cookies, you’re likely to have them on hand. I used Wilton gel food colors, #4 piping tips, fine-tipped frosting squeeze bottles, and piping bags. If you don’t have these items on hand, you might consider using store-bought vanilla frosting colored with food dye and use a plastic food storage bag that has just the very tip of one edge cut off.
This project was so fun; I encourage all you bakers and artists out there to try it! It was easier than it seems and with a little extra time on all our hands this year, it was a great family project. We discovered that the nicely decorated birds taste just as good as the poorly decorated ones, so if you do attempt this at home, relax and have an enjoyable time creating them. If you do, please share a picture with us! You can tag us on social media at @audubonrockies.