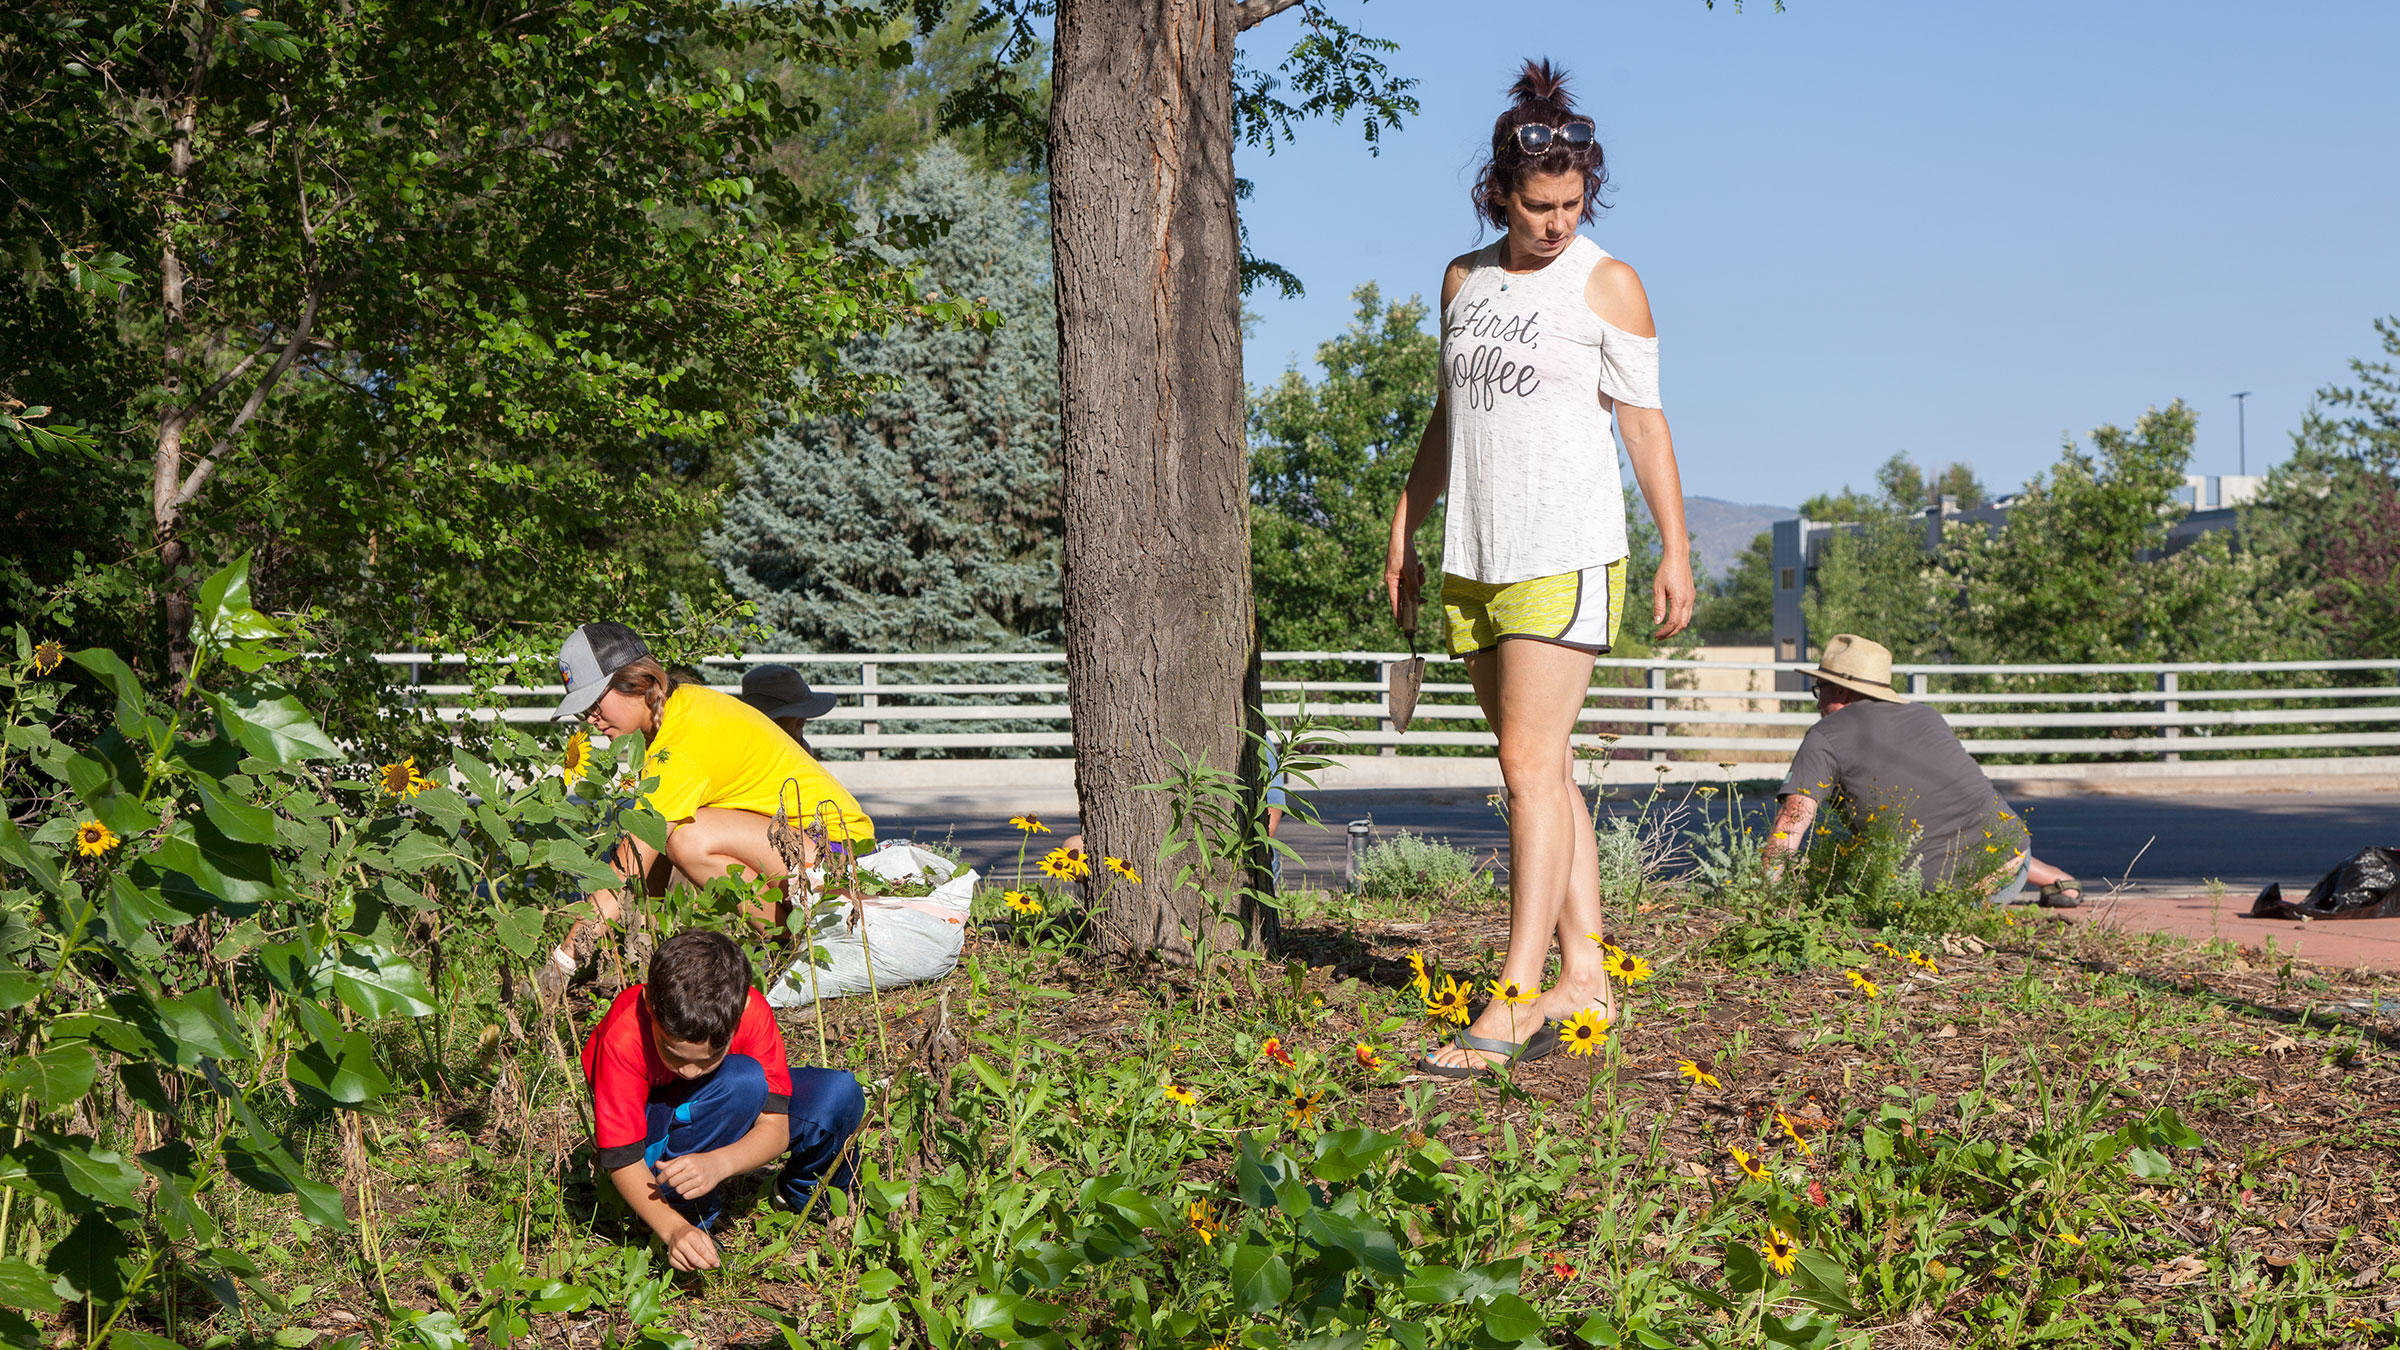
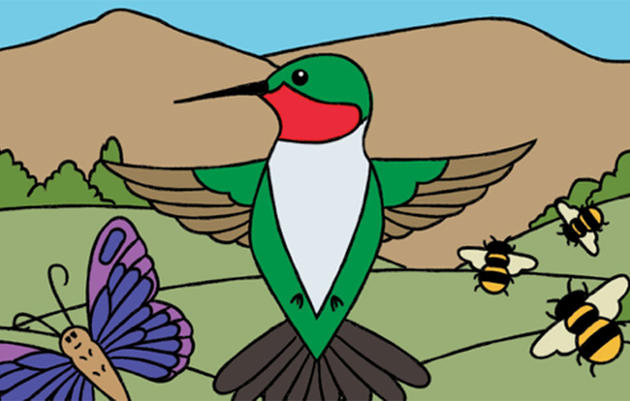
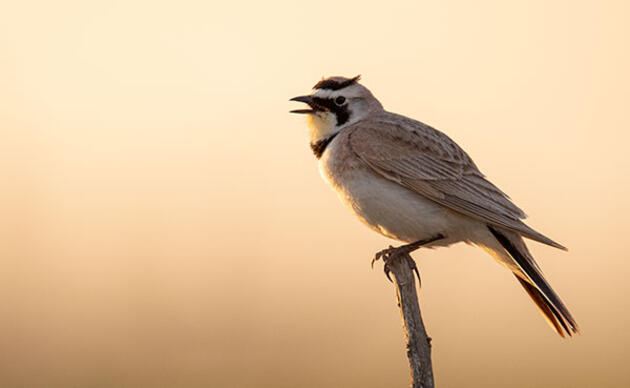
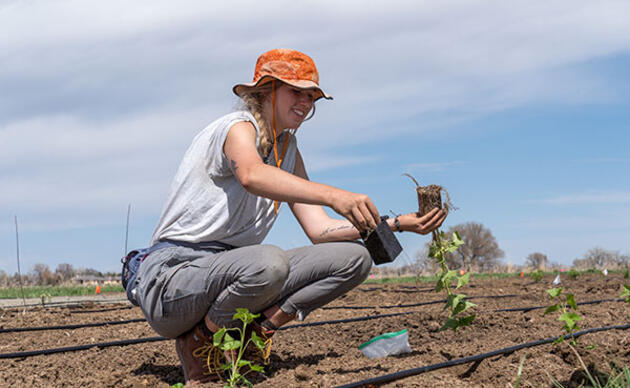
Planting seeds with children is a joy and such a great learning opportunity. Plus, by planting native seeds you can be a Habitat Hero to birds and other pollinators by providing them with the food and shelter they need. However, not all seeds are created equal. Some large seeds, like sunflower, are easy for little hands to sow but tiny native plant seeds can be tricky. What to do?
Seed tape is a quick and easy craft you can do at home with materials you have on hand. Here are some common native species that you could plant:
- Gaillardia aristata
- Monarda fistulosa
- Agastache species
- Berlandiera lyrata
- Coreopsis lanceolata
- Cosmos bipinnatus
- Oenothera macrocarpa
- Penstemon strictus
- Ratibida columnifera
- Salvia azurea
Wondering where to buy native seeds? Check out our recommended native plant retailers.
Once you have the seeds you’d like to plant, follow these seven steps with your kids:
Step 1: Gather Materials
Toilet paper, seeds, paintbrush, flour, water, bowl, ruler, plate
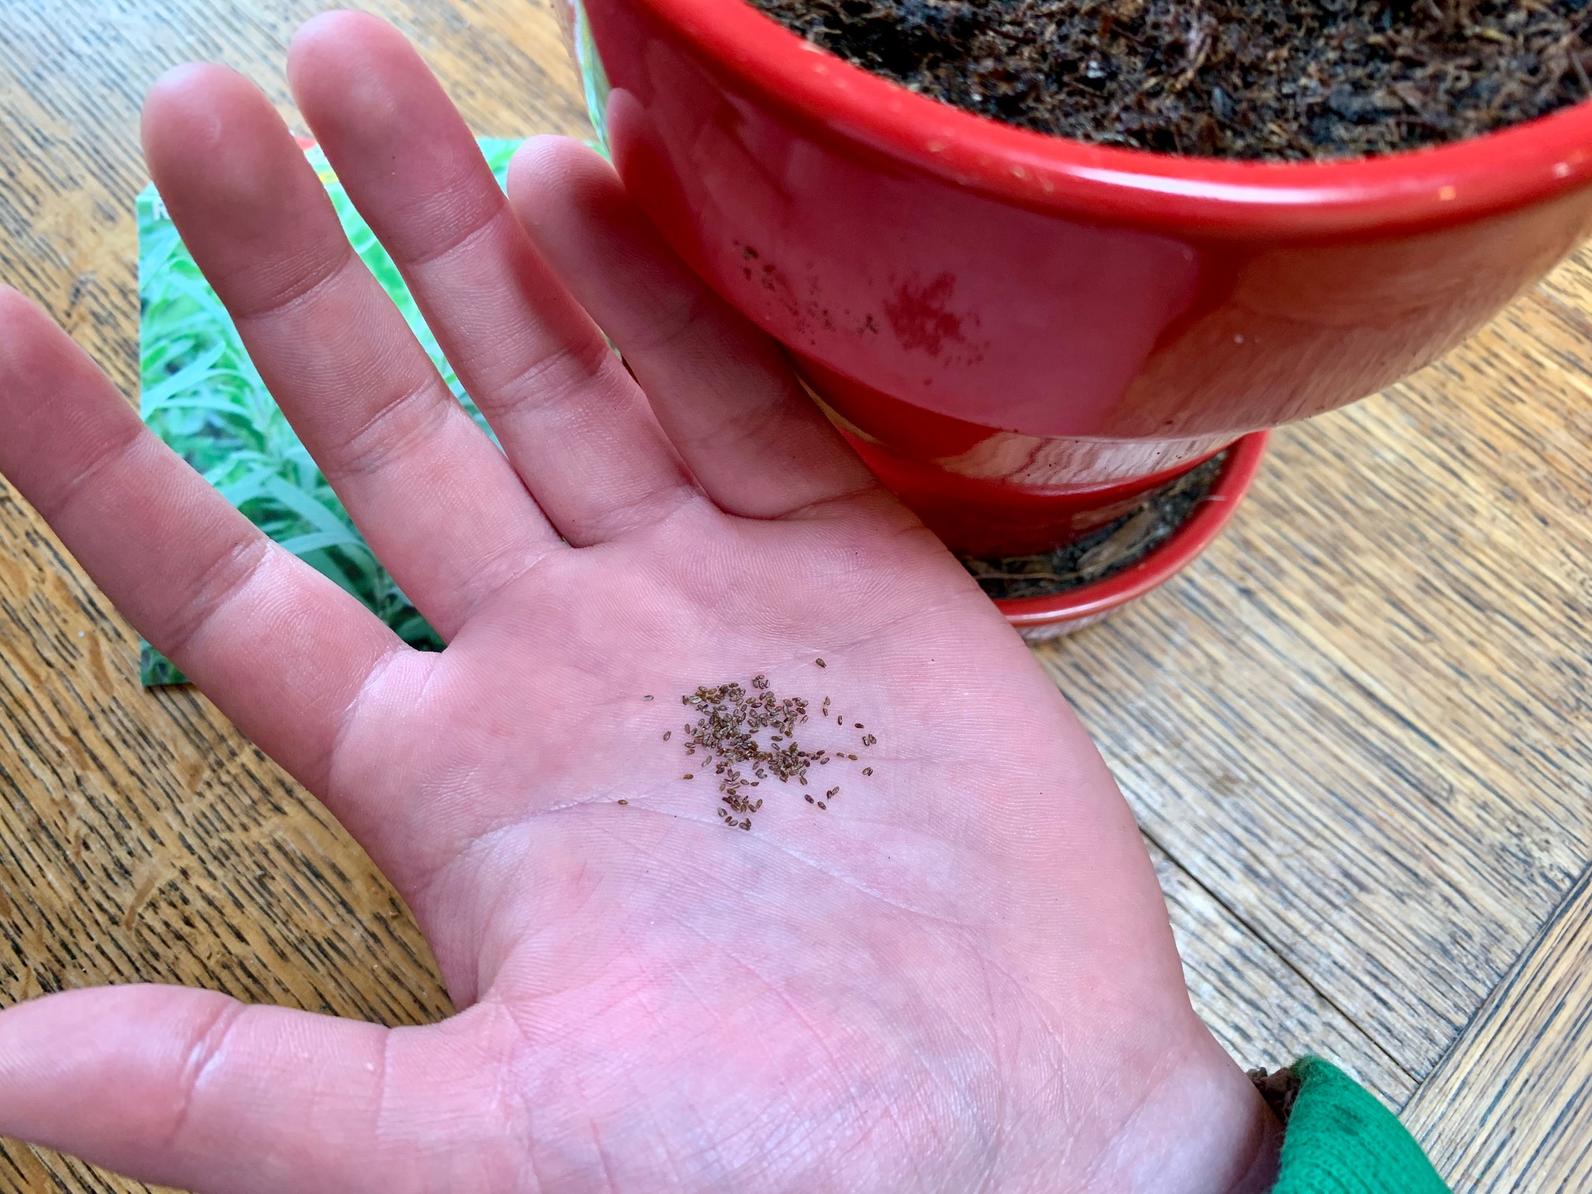
Step 2: Make the seed paste
In a bowl, mix together ½ flour and ¼ cup water.
Step 3: Prepare the “tape”
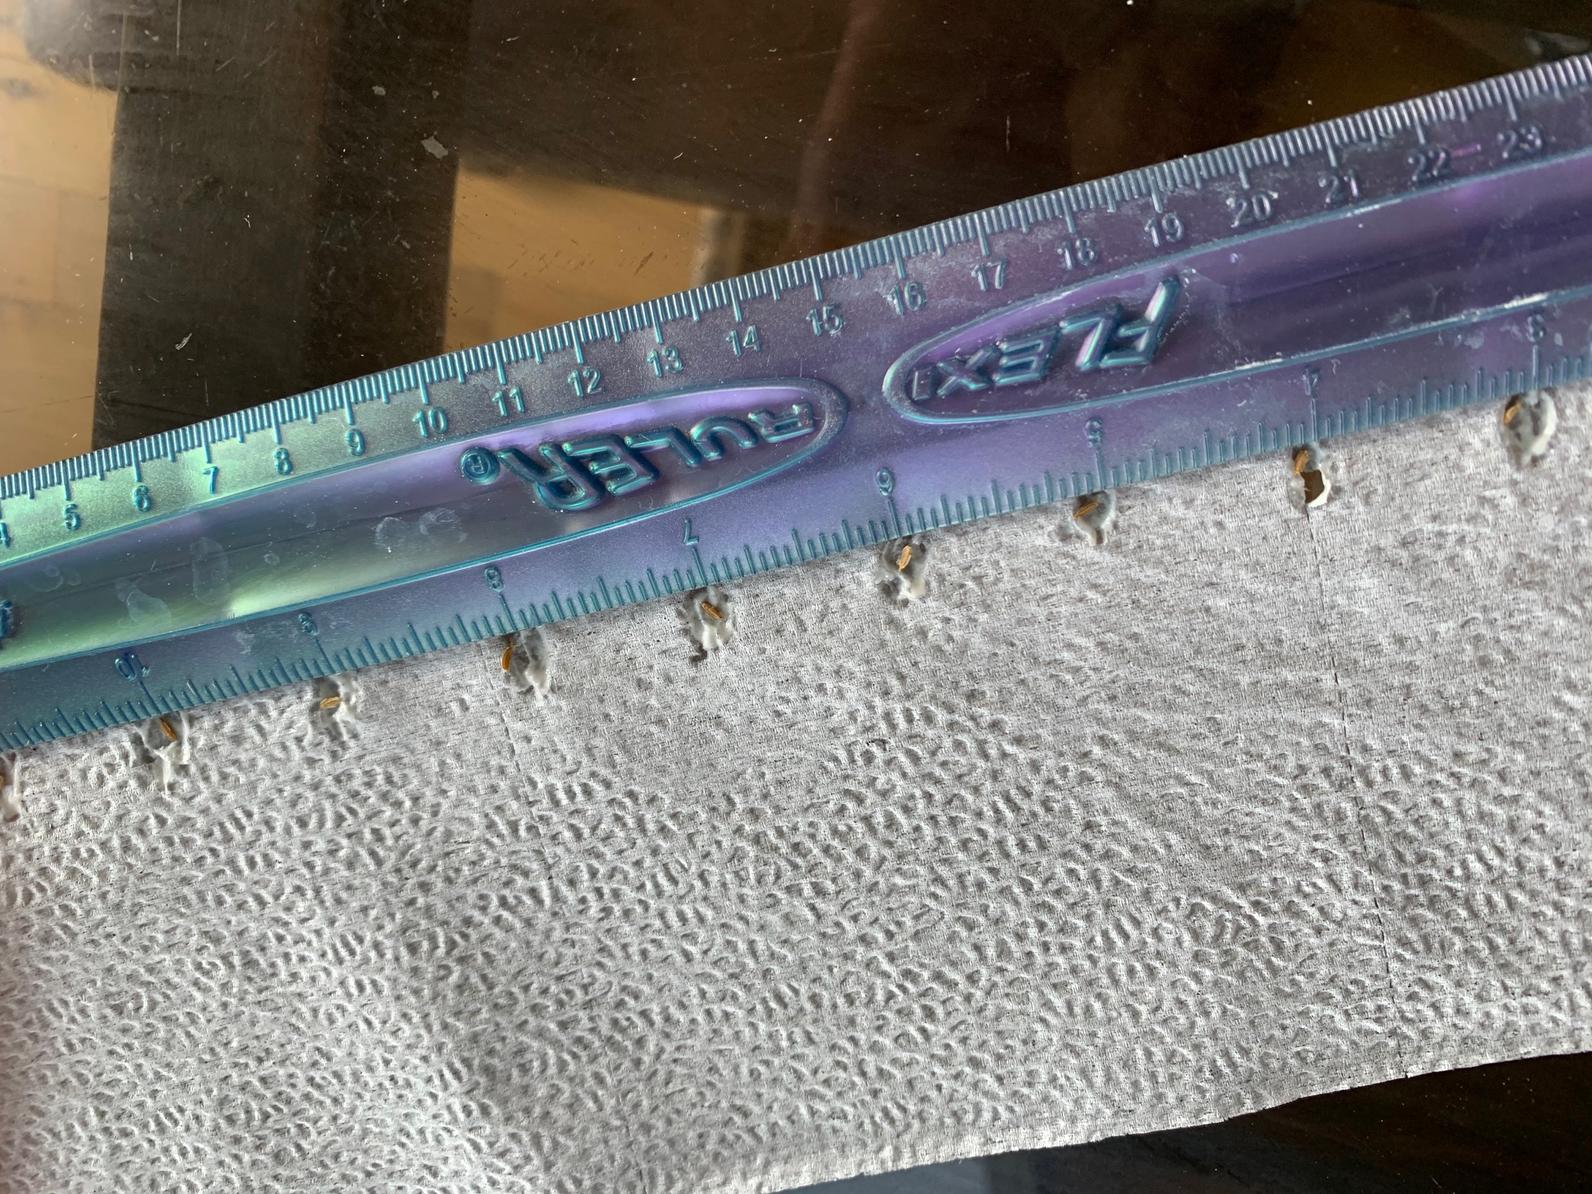
Select a length of about 1 foot of toilet paper. If you have 2-ply paper, peel it apart. For most plants, you can measure and mark the toilet paper every one to two inches. You can also follow the specific spacing instructions on the back of your seed packet. Repeat with more lengths of toilet paper.
Step 4: Painting your tape
Use a paintbrush to put a dollop of seed paste on each marked spot on the toilet paper.
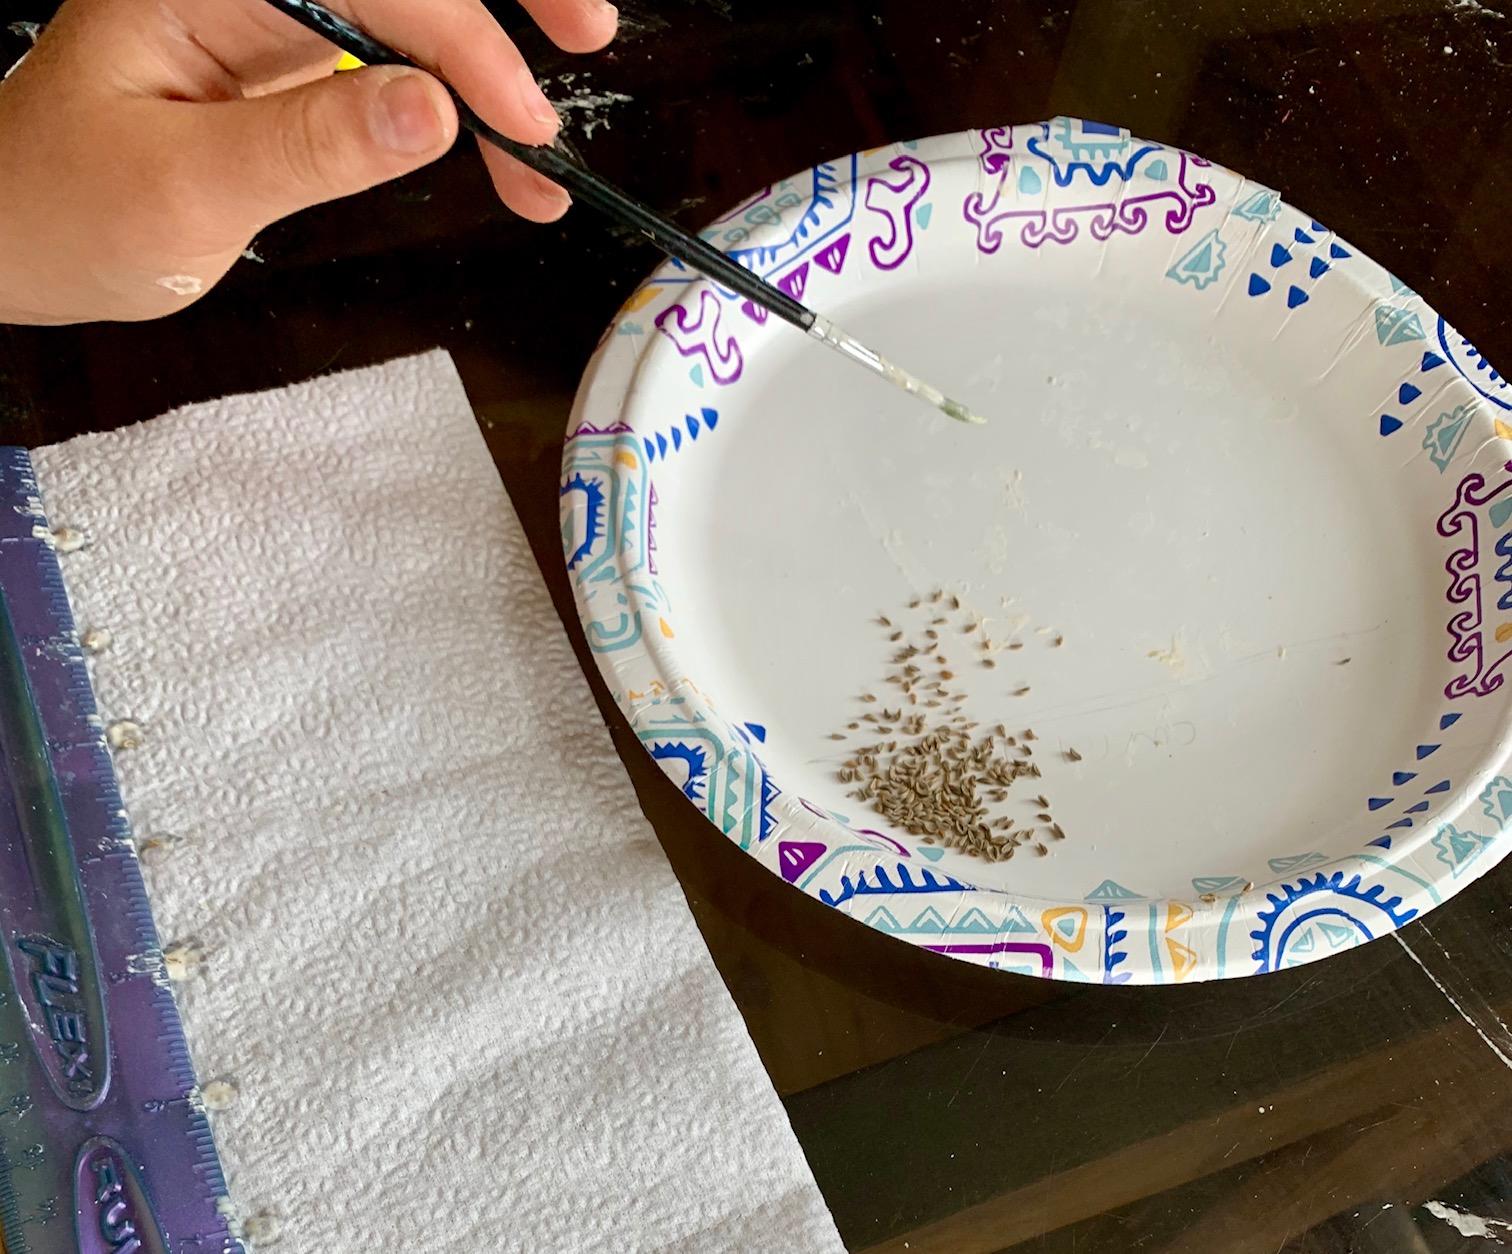
Step 5: Add seeds
Pour a small amount of seed on a plate. Using fingers or the paintbrush, put one seed on each dollop of paste. Carefully fold the toilet paper over the seed paste. Let dry.
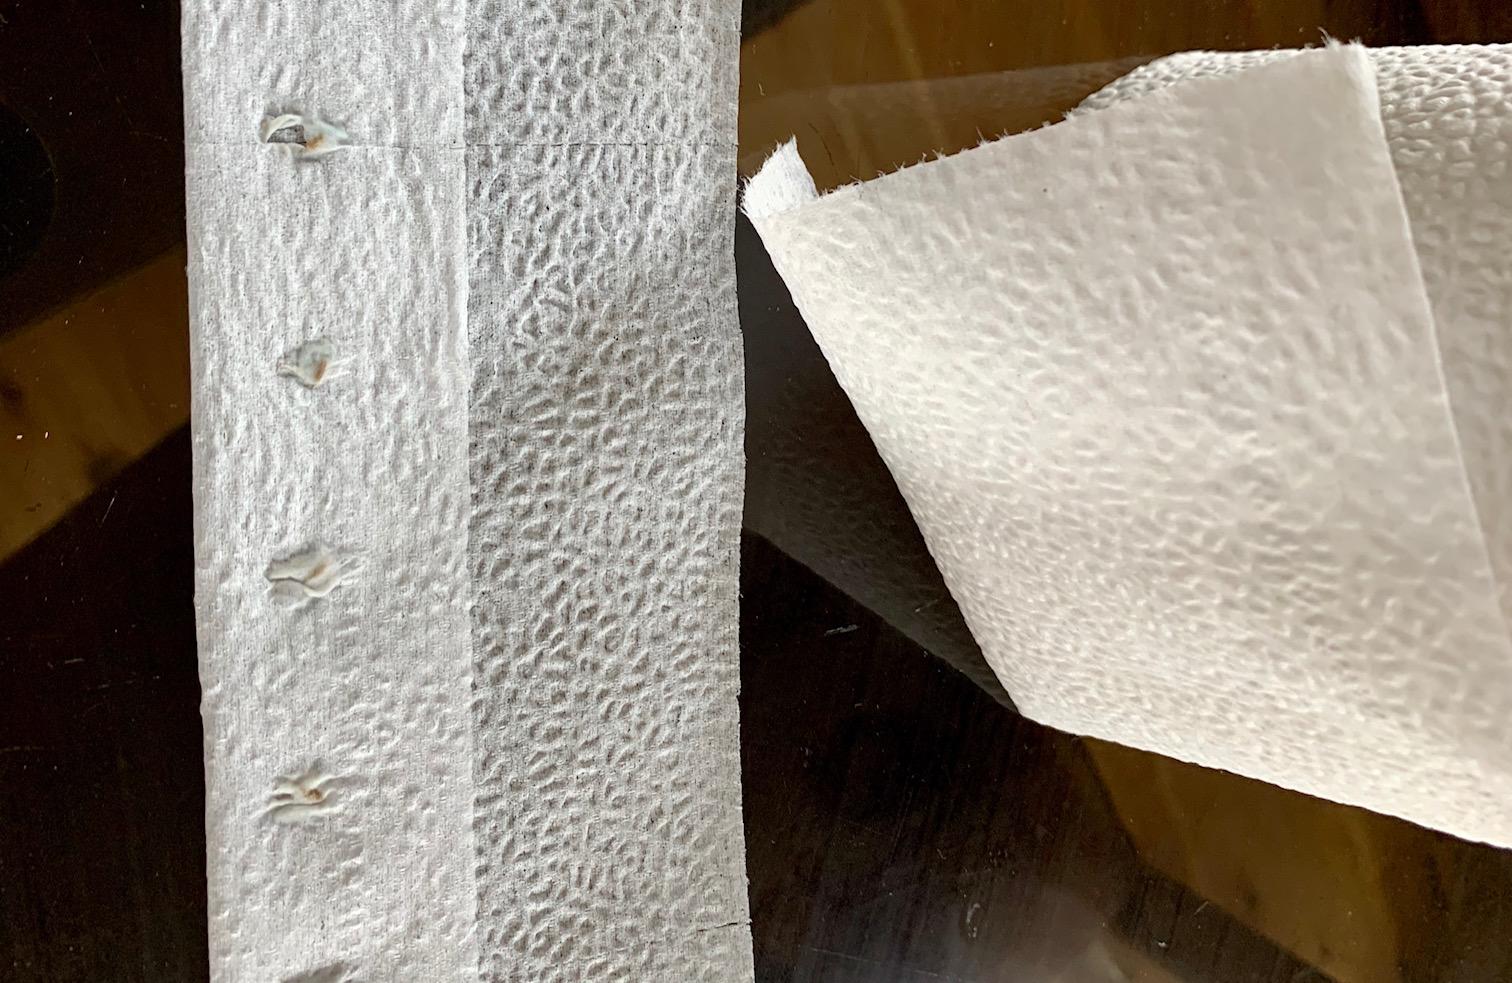
Step 6: Finish the tape
Once dry, you can trim the tape. Don’t forget to label your tape with the plant name. Store in a cool dry place until you are ready to use it.
Step 7: Plant it!
To plant, simply lay in the selected planting spot and cover with soil, following the suggestions of the seed packet.

